
For the past month, I've been shouting from the rooftops about the power of , and how much this peaceful golem propelled Bomberman into what I believe is the best deck in the format.
If you need a little bit of catching up on all the things Karn, the Great Creator can do in Legacy, or how Bomberman works, click this link to my article a few weeks ago, titled "Total Karnage."
Here is my current decklist for White Bomberman:
W Bomberman
Now that we're all up to speed, I wanted to get a little more in depth about Bomberman, including why I believe the deck is so good.
The Many Ways to Bomberman
Bomberman's power comes from its flexibility. It can reliably win in one of 5 ways:
1: + to generate an arbitrarily large amount of mana, to then return and cast a lethal . If a is not available, you can draw 15-30 cards by repeatedly recurring a or , learning a lot about the top of your opponent's deck or their hand in the process. The card draw should make it trivial to win on your next turn.
2: + noncreature spells. or are great "slow-trips" to trigger and grow the Mentor, creating an army in no time. An unanswered can easily become too much for many decks in Legacy to answer, and this deck can reliably cast the Mentor on Turn 2, sometimes even Turn 1. On this note, it is sometimes better to wait a turn on the Mentor if doing so enables you to cast your 0-cost artifacts after the Mentor is in play.
3: "Karnstruct" beatdowns. See below.
“Casual 15 power on Turn 2” - Julian Knab
Callum Smith, responding to Julian: “Cute”
4: While isn't quite as good at making 40 power by Turn 3, it's just as good at ending the game by then. Thanks to , Bomberman is particularly good at being able to cast a fast to prevent your opponent from casting spells anymore. The nut draw of or , 2x , , and 2x is a Turn 1 Lattice Lock, on 6 cards! The less broken draws involve a Turn 2 , tutoring for a , and then grabbing the to win next turn. On top of that line, you have access to tutoring both halves of the combo, by getting and/or over two turns, or tutoring for or when those cards are situationally necessary to prevent losing.
5: It's easy to forget, but this is a deck! And not just any Chalice deck, mind you. Between the 8 Sol Lands, 4 , and 4 , this deck is actually better at casting a Turn 1 for 1 than any other deck in Legacy. Most other Chalice decks in Legacy have this as their Plan A. For Bomberman, it's just one of a plethora of broken plays. Turn 1 followed by a Turn 2 , , or either Karn is a very common sequence of plays. If your got hit by a , the chances are much higher that your is going to stick.
A Small Aside...
Bomberman, unlike most other decks, is really hard to play optimally. While many people relish in the knowledge that their deck is tough to pilot, I want to unequivocally state: a deck being hard to play is not upside. You do not get extra points for playing a hard deck.
With that out of the way, we can also address the opposite side of the coin: there is significant upside in playing a deck that is hard to play against.
Bomberman checks both of these boxes, and is also high enough in raw power that you can still misplay your way to wins (unlike, say, ).
Tips & Tricks
To facilitate the learning process, here are a bunch of little tips and tricks with Bomberman:
Use before wishing with , and you will have the mana in your pool before the wish resolves (obvious but worth stating)
can wish for any artifact in exile. Over two turns, you can wish for a , Crypt yourself, and now wish for an artifact that is now in your Exile zone.
If you use to turn an equipment into a creature, it will fall off of the creature it's equipping. This kills Germ tokens! It also prevents re-equipping, since Karn's passive ability is a .
+ + (or 2 ) = As many prowess triggers as you can produce white mana, as you loop the petal.
You may sometimes want to hold artifacts incase you draw a , so that you can generate monks. This is a difficult judgment call that depends on game state.
With , do some math. Often, holding an artifact back to play next turn will present more damage with Prowess triggers than the summoning sick Monk would on your current turn. If the artifact is a Bauble, it can be right to just play it and hope to draw into more gas.
Sometimes, to keep a live, you may want to just keep a Bauble around. This is usually the right call if you know you'll need the mana next turn and already have another land to play.
You can Chalice on 1, 2, or 3 relatively freely. However, if you Chalice on 2 and your Chalice on 1 gets blown up, you won't be able to replace it. (outside of using 's +1 on your own Chalice on 2)
If you have + , but need a blocker, Karn can turn lattice into a 6/6. This seems obvious but I've seen people miss it.
Along those lines, plan your Karn actiations over multiple turns.
With a Salvager + LED loop, 2 extra mana (1W) is sufficient to play through a . Just return the thing again in response to Surgical.
Related, but Surgical on an artifact isn't that permanent. As stated, can wish for cards in Exile.
The exiled cards with Silver Counters on them that Karn, Scion of Urza creates are, again, cards in Exile. If there's an artifact you want with a Silver Counter on it, can, again, wish for it.
Against discard decks, you often want to "hide" what you'd "slow-trip" (Bauble) into, so you want to use the Baubles on your opponent's turn.
A very basic rule of thumb is to use on the opponent's upkeep (see what they draw), and on the opponent's end step (after they cast stuff for the turn).
Against , you'd rather have the cards you cantrip into to be in your hand, so you can put them into play off of , so use Baubles on your own turn.
Against , you can use a Bauble on your own turn to draw a card on your opponent's turn. If you wait until your opponent's turn to crack the Bauble, you'll "lose" the draw. If you fear Narset being played on your opponent's turn, crack Bauble on your own turn.
Sideboarding out an artifact gives you access to it via 's wish. Keep that in mind. Sometimes it's nice to be able to wish for a or Bauble postboard.
is a liability in matchups where your opponent can set yours to zero. This is primiarily DnT and Depths.
There's an argument, for matchups where you want to combo fast, to bring in some elements of the combo from your sideboard to your maindeck (saving you a turn of Wishing with Karn). There's merit to the argument, but I've also been burned while trying it (unable to "wish" for the remaining combo piece since I sidedboarded it in). I'm not 100% sure what's correct, and I'm currently trying sideboarding in the half, but keeping the as a wish target.
returning and re-casting Baubles is a fine value play. Drawing cards is great.
You can animate noncreature artifacts to kill them with .
makes everything colorless. requires Blue cards to alt-cast. No more free .
makes everything an artifact. If you're playing a , you can float 1W in response to your opponent's Lattice, then . If you have your own Karn, you are the captain now.
Matchup Guide (Including Sideboard Plans)
Miracles
Generally speaking, the cards that beat you are and . Their s are better than yours. The way to win this matchup is to take advantage of the early game, exploiting the fact that 14-17 of their cards say some form of "Draw a Card" instad of affecting the board. If you watch MinMax Battle #1, Min plays Turn 2 into Turn 3 , and I still win convincingly.
When deciding how heavily you want to commit creatures, you can use to check the top of their Library for a . You can also figure out what the CMC on top of their Library is in the face of a .
My sideboarding plan against them is to cut a little bit of the fast mana, as your threats will be less likely to stick around postboard, so committing too heavily into one thing can be a liability. I bring in and to answer their problematic permanents.
Out: 2 , 1
In: 2 , 1
Stoneblade
's Passive ability is insane in this matchup, due to its ability to shut off equipment. Although I mentioned this in the "Tips & Tricks" earlier, it's worth repeating: turning a into a 5/5 creature makes it fall off of the Germ.
Unlike against Miracles, you can commit heavily to the board with relative impunity, since you don't have to play around .
Commit must-answer threats early and often, and try to overwhelm them. Try to create a situation where they are too behind on board take a turn off to cast a .
Out: 2 , 1
In: 2 , 1
Grixis Control
This matchup can be fairly swingy. can be devastating against us. can make it risky to Salvagers with no other creatures, into open mana. However, a resolved Karn (either one) is very hard for them to beat.
There's a difficult balancing act of waiting on cracking Baubles to play around hand disruption, or cracking one on your turn to play around an incoming .
You will gain a lot by practicing this matchup to learn the play patterns.
Out: 1
In: 1
Delver (Any Flavor)
While there is a huge variety in Delver decks, they play similarly against Bomberman. Mana denial + a fast clock + disruption can be hard to beat. is rough when there's a Delver clocking you.
Your plan should be to eliminate the clock on you. Aggressively using to shoot down Delvers, often even setting a to "Construct" to make sure it resolves. You're much better at gumming up the ground.
getting is often game-winning in Game 1, and can still be a solid play postboard.
Karns are still hard to resolve, but since presents free wins, I like keeping those. doesn't do enough in this matchup for how hard it is to resolve, so those come out.
I like bringing in , even with in the deck. They usually don't let the Chalice stick around, and if it does, you're usually winning. If presented with a hand that has both cards in it, you have the agency to cast the removal spell first. It can sometimes be awkward, but I think it is necessary to have both in the matchup.
Out: 3
In: 3
Karn/Ugin Post
Their on 0 is great against you, while yours are not great against them. This is a problem. The good news is that Game 1 on the play, you are free to cast your 0-drops, and on the draw, they will likely cast a blind Chalice on 1 if they're able.
is incredible in the matchup. It kills their Chalices, shuts off their artifact mana, and presents a very fast way to win. Generally speaking, if you're able to combo with , do it ASAP and they won't have much recourse.
Be aware that their turns off your artifact mana, including your . Fortunately, Karn is a Planeswalker, and we have creatures. Attack it down!
Out: 4
In: 2 , 1 , 1
Against Eldrazi Aggro, trim a and an for the full 3 .
Sneak & Show
This matchup generally comes down to how fast they can combo you. If they have everything they need for a Turn 2 , they usually win. Obviously, there are exceptions, like if they bring in and you show them a , or put in and you just untap and combo them. from them usually does it, though.
There are lines where you can generate a ton of monks with , stay at above 15 life, and be insulated from an Emrakul hit.
If the game goes a couple of turns, your combos, as well as are enough to win. Chalice on 1 is obviously great, but Chalice on 3 can also be very worthwhile.
Postboard, and obviously interact favorably with their combo, and is generally too slow.
Since is usually tutoring for a combo piece or Ensnaring Bridge, it might be worth bringing in the "weakest" wish target, . I'm unsure on this, and would probably cut a Bauble or a to do it.
Out: 3 , 1
In: 2 , 1 , 1
ANT/TES
Save Baubles for their turn in order to protect yourself from discard. Mishra's on their upkeep, Urza's on their end step.
shuts off all of their artifact mana, and tutoring for is great vs ANT.
is sometimes better set to 2 than 1, since it prevents , , and / , as well as still hitting out of ANT.
If you're going to commit to a , look out for , , or a preemptive for out of TES.
You want to bring in to increase your likelihood of a fast lethal combo.
Out: 1-2
In: 1 , 1 (for ANT)
BR Reanimator
This matchup is obviously very fast, so, again, and are too slow.
Graveyard hate comes in, as does , to speed up the combo slightly. Keep hands that can interact in a meaningful way on Turn 1.
Out: 3 , 4
In: 3 , 2 , 1 , 1
Death & Taxes
This matchup can be tricky. They have a lot of answers for what we can present, and we have a lot must-answer threats.
The biggest liability is a on 1 being reset to 0 by a . Try not to let this happen.
Here's a cool trick that I've heard about but haven't had the chance to use:
If you have a and in play but are afraid you will lose your Karn, either to a or by damage, you can animate an opposing and then shoot it with the Ballista.
Also, remember, you can +1 on an equipment and it will fall off of the creature it's equipping. The static ability of Karn will prevent it from being re-equipped as long as Karn lives.
They have a lot of hate. , , , and are all very difficult to deal with. The longer the game goes, the less likely you are to win.
Out: 4 , 1 , 1
In: 3 , 2 , 1
Lands
This is another matchup where it is okay to have both and , especially since Chalice on 2 is often the best number to set. They will bring in and , so plan accordingly if you try to move all in with something postboard into open mana.
loses to both and Tabernacle, so I like cutting them.
Try to keep your Karns above 2 loyalty so that they don't die to a single Punishing Fire.
Out: 4 , 2
In: 2 , 2 , 1 , 1
Moving Forward
The Monowhite build of Bomberman has performed phenominally, but I can't (read: won't) stop tinkering. I'm currently exploring UW builds, utilizing as a way to be able to combo off without fear, as well as bounce annoying permanents like opposing .
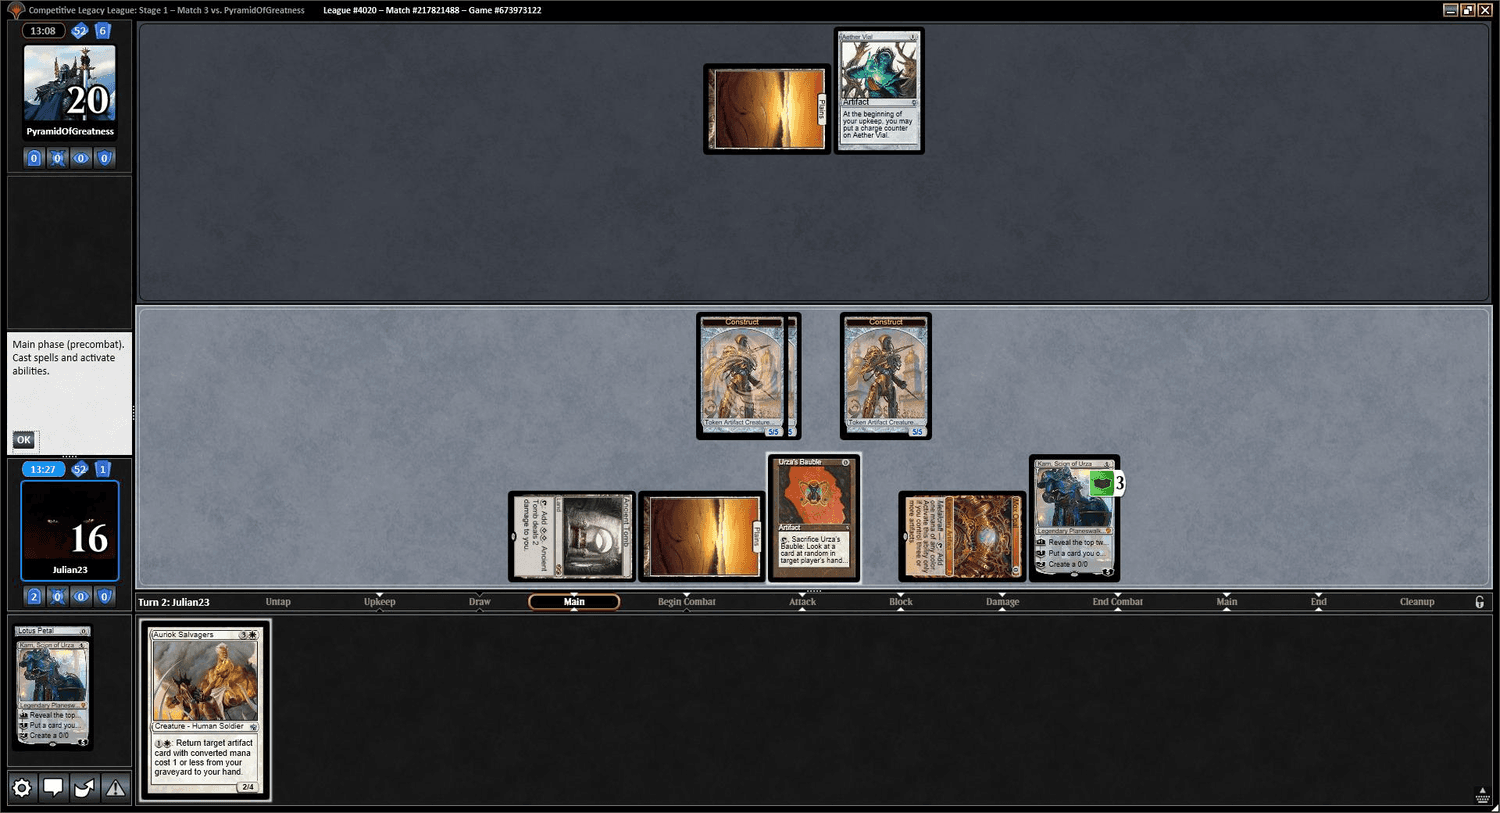
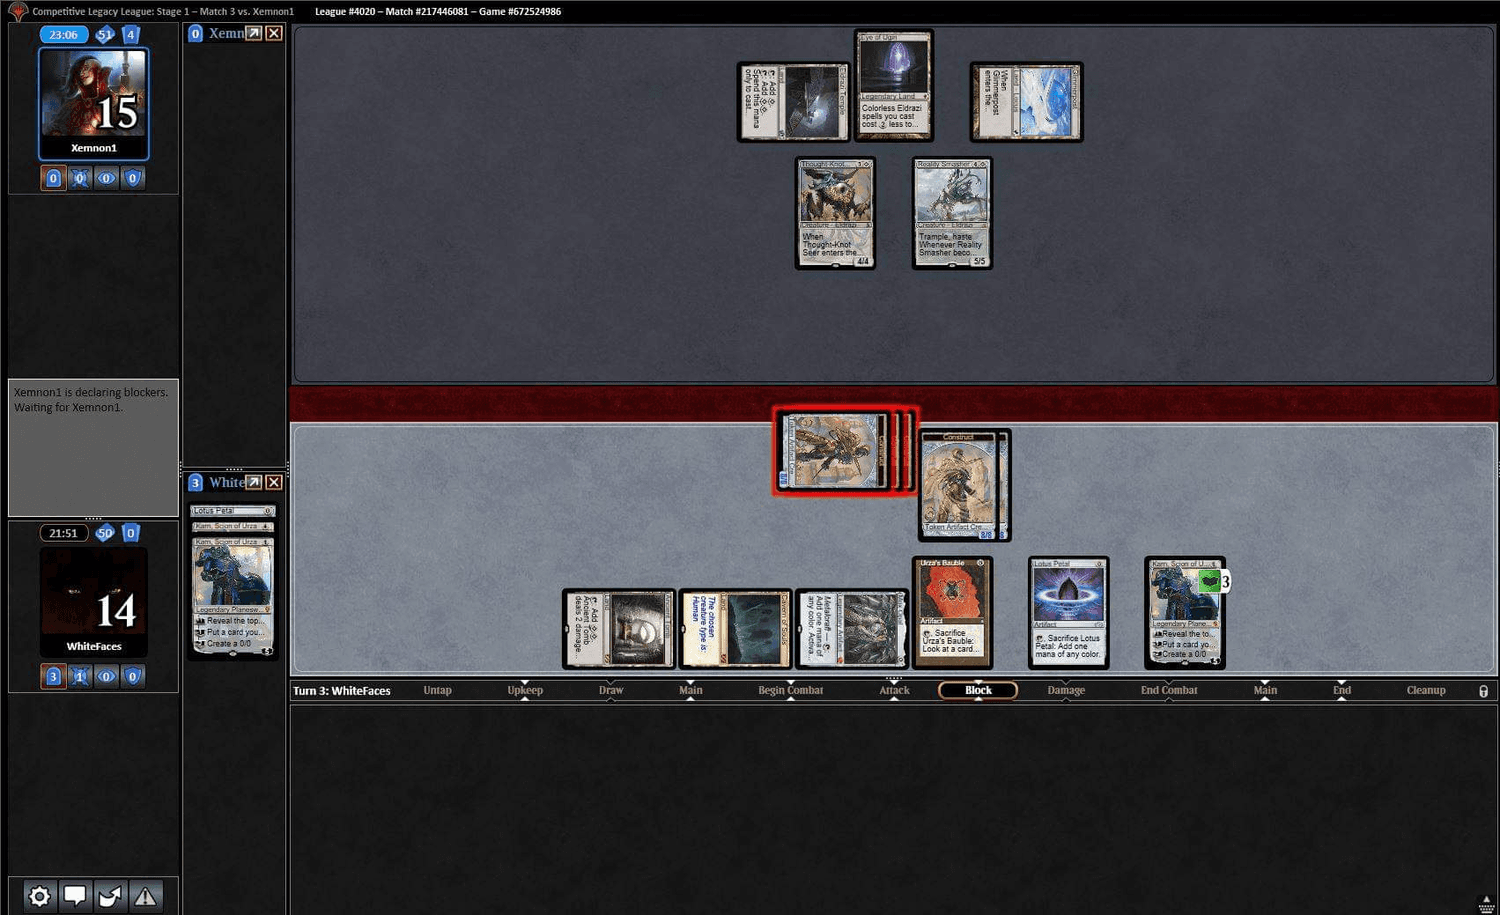
I recorded a league, replacing the 3 with 2 , and a 5th , by which I mean . Watch it here!
UW Bomberman
I hope this primer was valuable to you. Let me know in the comments (Reddit, Twitter, or here) if you have any questions or comments.